Unable to remove "ads by speedchecker", what should I do now?
SpeedChecker or SpeedCheck ads have been controlled your screen? Why such things happen? Usually we regard it as a unwanted program might have relationship with adware program, even though it looks like so legitimate that states install a desktop widget allowing users to observe their Internet speed. On initial inspection, this functionality might seem legitimate and useful.
However, as soon as SpeedCheck installed on your computers, you will get a lot of unexpected issues. It may be an online advertising platform created by adware or other unknown program to boost traffic and generate pop-up ads. It can display a bunch of annoying pop-ups on the mainly use web browsers such as Internet Explorer, Mozilla Firefox, and Google Chrome. Most of the ads by SpeedChecker with a bunch of fake messages which tell you that your computers have been infected with some risky threats and you need to fix the issues by downloading some recommended programs and applications on the popup box.
But as soon as you click the ads by SpeedChecker, you will be redirected to some other malware sites which contain a lot of malicious programs, and then your computer will be infected with other dangerous threats like TV Wizard, Rango Win 8 Antispyware 2014, Arcade Yum, Rango Win 7 Antivirus 2014 and so on. What is more, ads by SpeedChecker may be used by cyber criminals who want to steal some important information stored on your system.
The Major Danger Consequences of Ads by SpeedCheck
• Degrades the PC performance.
• Unnecessary error messages.
• Excessive boot time.
• Freezing of system which might lead to system crash, etc.
• Stealing your personal details like credit card number, passwords, etc. online is quite common.
• Unnecessary and annoying pop ups.
• Fake and malicious emails.
Take Below Removal Steps to Get Rid of Ads by SpeedCheck Completely
Step A: Restart your computer and enter into safe mode with networking.
Windows 8 users:
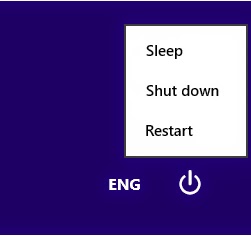
a. Press the Power button at the Windows login screen or in the Settings charm. Then, press and hold the” Shift” key on your keyboard and click Restart.
b. Click on Troubleshoot and choose Advanced Options. Then click on Startup Settings and select Restart. Your PC will restart and display nine startup settings. Now you can select Enable Safe Mode with Networking.

Windows 7/Vista/XP users:
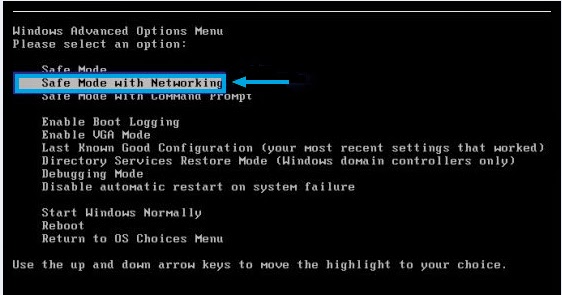
a. Restart the computer. Before Windows Welcome interface appears, please tap F8key constantly until Windows Advanced Options Menu displays.
b. On the black screen of Windows Advanced Options Menu, use the arrow key to move down and choose Safe Mode option by highlighting it. Then hit Enter on the Keyboard.
Step B: Show hidden files and folders.
Windows 8:
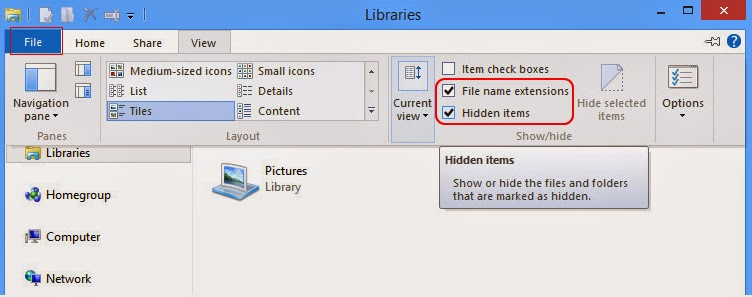
Open Windows Explorer from the Start screen. Click View tab. Tick “File name extensions” and “Hidden items” options and then press OK to show all hidden items.
Windows 7/Vista/XP:
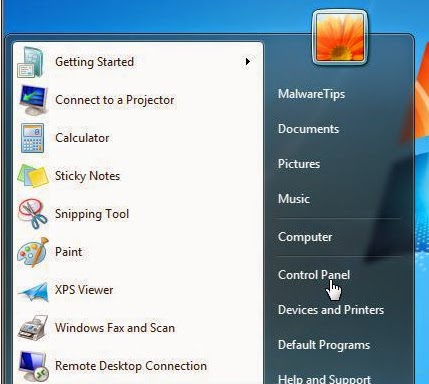
(1). Click on the Start button and then on Control Panel
(2). Click on the Appearance and Personalization link
(3). Click on the Folder Options link
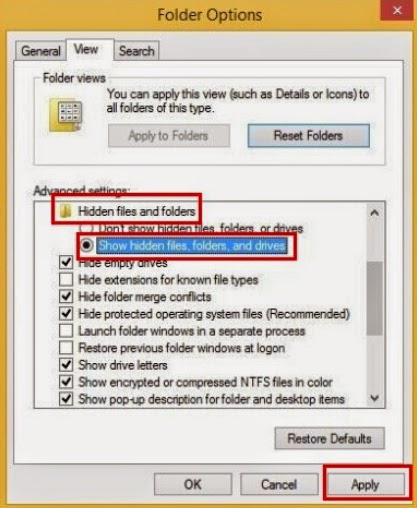
(4). Click on the View tab in the Folder Options window
(5). Choose the Show hidden files, folders, and drives under the Hidden files and folders category
(6). Click OK at the bottom of the Folder Options window.
Step C: Delete unwanted software
Win8 users:
1. Press Win+R, type in “control” and tap Enter
2. Select Uninstall a program/Add or remove programs
3. Highlight the unwanted application
4. Click Uninstall/Remove

Windows 7 & Vista users:
• From the Start Menu, select Control Panel.
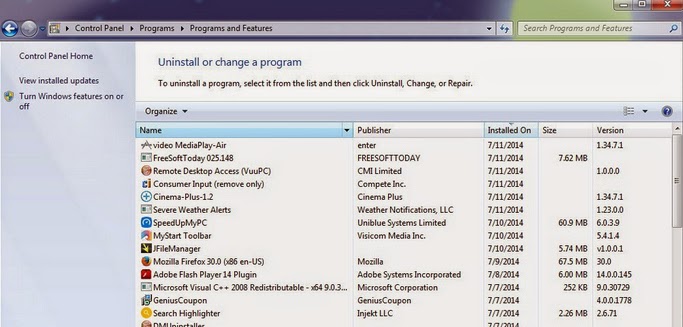
• Under Programs click the Uninstall a Program link.
• Select the program you wish to remove and right click then select Uninstall/Change.
• Follow the prompts to finish the uninstallation of the software.
Windows XP users:
• From the Start Menu, select Control Panel.
• Click the Add or Remove Programs icon.
• Select the program you wish to remove and right click then select Uninstall/Change.
• Follow the prompts to finish the uninstallation of the software.

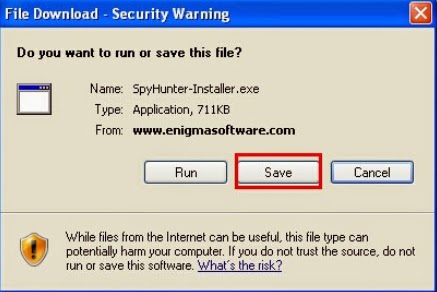
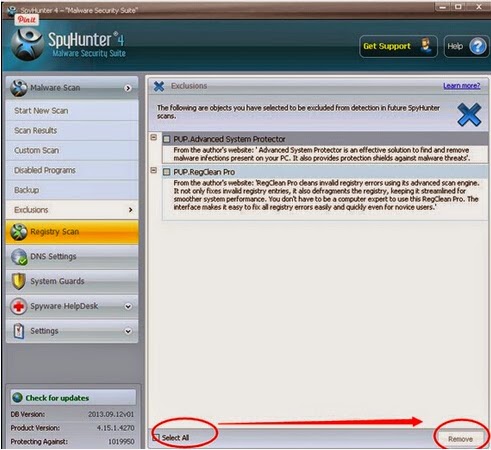
Step D: Download SpyHunter Scanner to Detect and Remove Ads by SpeedCheck .
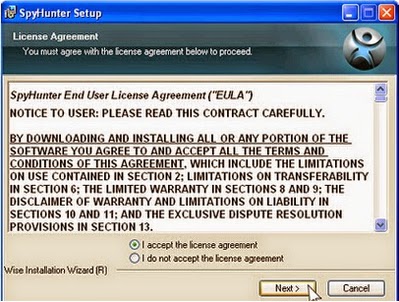
1: Click download button below to download SpyHunter.
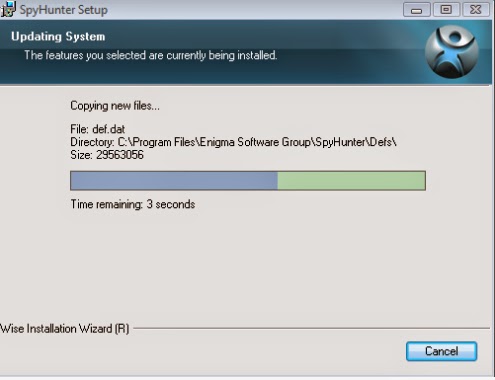
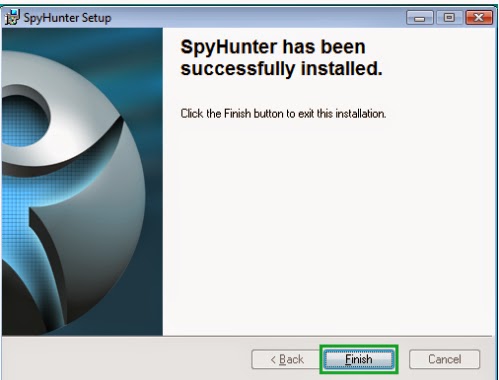
2: You just need to follow the installation prompts on your screen and don’t make any change during the installing procedure.
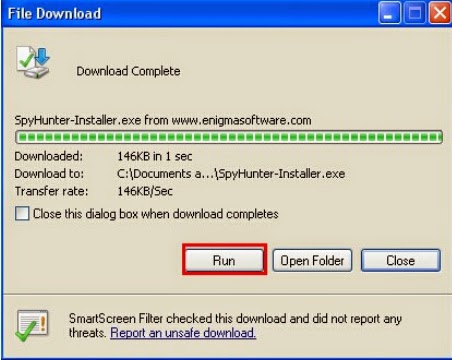
3: If you have installed SpyHunter successfully, please SCAN your computer by clicking MALWARE SCAN or SCAN NOW button.
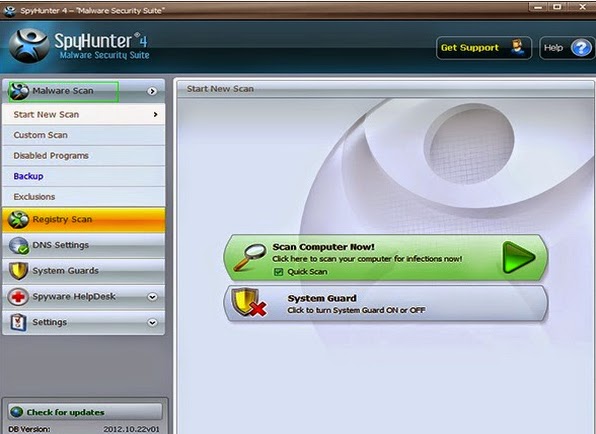
4: Once scan completes, please remove all noted infected files.
Step E: Restart your computer back to the regular mode to check the changes.
Optional Step:
There will be many residual files like invalid registry entries still on your computer when you uninstall the adware. These junk files occupy disk space of your computer and may degrade your computer performance over time. It is complicated to delete them manually, so you may need the help of a system cleaner or system optimizer. We recommend you optimize the infected system with RegCure Pro.
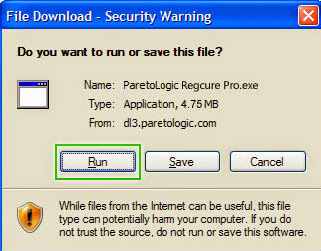
1) Click the icon to download RegCure Pro

2) Double-click on the icon the RegCure Pro program to open it
(If Windows prompts you as to whether or not you wish to run RegCure Pro, please allow it to run.)
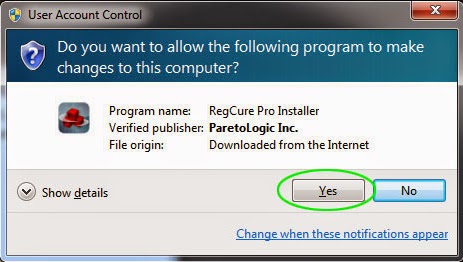
3) Click Next and complete the installation


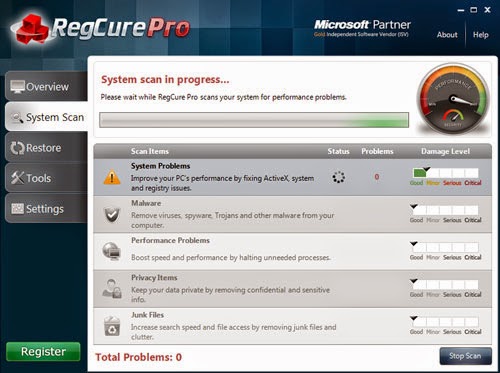
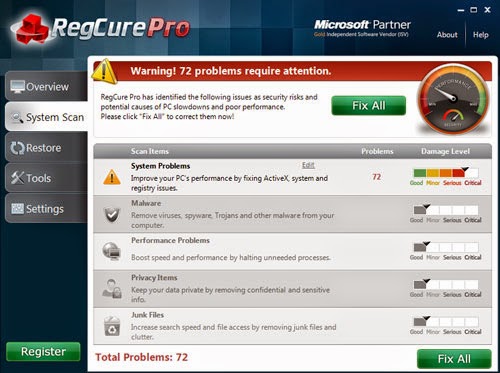
4) RegCure Pro will begin to automatically scan your computer for errors
RegCure Pro Thoroughly scans and cleans up your Windows registry automatically. RegCure Pro allows you to automate the whole process of regular optimization of your PC for best performance using an in-built “Fix All" scheduler.
Kindly notification: Ads by SpeedCheck is a threat that can create a lot of annoying pop-up ads with pop-under, contextual links, and sidebar ads. Normally it affects browsers such as Internet Explorer, Mozilla Firefox, and Google Chrome. We here suggest you using powerful utility to remove SpeedChecker to help you.
No comments:
Post a Comment