Painful Proxy 127.0.0.1 Problem
Many users have encountered Proxy Settings problem which hijack by 127.0.0.1. They unable to access Internet due to proxy server unresponsive at 127.0.0.1 port 8800, 127.0.0.1:8800 or 127.0.0.1:8000. It manages to change users’ settings without asking their permission. The most noticeable change was that it forced me to use a proxy (127.0.0.1;8800). And users are not allowed to change it. The sliders and check boxes that normally is helpful but the proxy is just grayed out. It says some settings are managed by users’ administrator.
The proxy keep changing to manual with 127.0.0.1:8080, even some victims go to safe mode and change registry values and it’s gone but after restarting Windows it change back to manual with 127.0.0.1:8080. So, Proxy 127.0.0.1 likes a browser hijacker that hijacks the default Proxy Settings without asking permission. Each time the proxy keeps resetting to 127.0.0.1:8800 or 127.0.0.1:8000 randomly. So, you have to be careful that on your computer, please follow the guide below to get back your default Proxy Settings.
What is the best suggestion for you to remove Proxy Settings 127.0.0.1 from computer.
There are two suggestions for you:
- Suggestion 1: To manually remove Proxy Settings 127.0.0.1 by yourself
- Suggestion 2: Permanently remove Proxy Settings 127.0.0.1 with advanced removal tool
Manual Suggestion Steps;
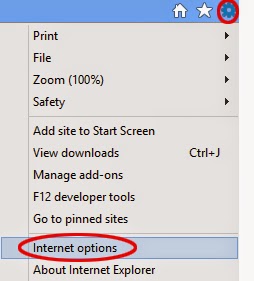
Step 1- Reset Internet Explorer by the following guide (take IE as an example):
Open Internet Explorer >> Click on Tools >> Click on Internet Options >> In the Internet Options window click on the Connections tab >> Then click on the LAN settings button>> Uncheck the check box labeled “Use a proxy server for your LAN” under the Proxy Server section and press OK.
Step 2- Disable any suspicious startup items that are made by infections from Proxy Settings 127.0.0.1
For Windows Xp: Click Start menu -> click Run -> type: msconfig in the Run box -> click Ok to open the System Configuration Utility -> Disable all possible startup items generated from Proxy Settings 127.0.0.1.
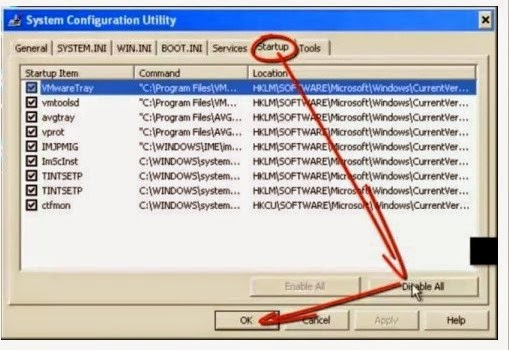
For Windows Vista or Windows7: click start menu->type msconfig in the search bar -> open System Configuration Utility -> Disable all possible startup items generated from Proxy Settings 127.0.0.1 .
Step 3- Remove add-ons:
Internet Explorer
1) Go to 'Tools' → 'Manage Add-ons';
2) Choose 'Search Providers' → choose 'Bing' search engine or 'Google' search engine and make it default;
3) Select 'Search Results' and click 'Remove' to remove it;
4) Go to 'Tools' → 'Internet Options', select 'General tab' and click 'Use default' button or enter your own website, e.g. Google.com. Click OK to save the changes.

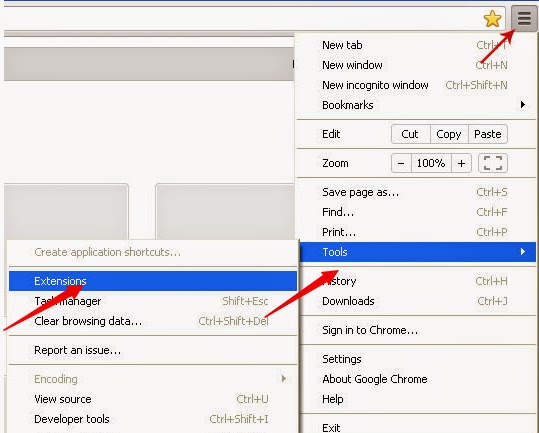
Google Chrome
1) Click on 'Customize and control' Google Chrome icon, select 'Settings';
2) Choose 'Basic Options'.
3) Change Google Chrome's homepage to google.com or any other and click the 'Manage search engines...' button;
4) Select 'Google' from the list and make it your default search engine;
5) Select 'Search Results' from the list remove it by clicking the "X" mark.
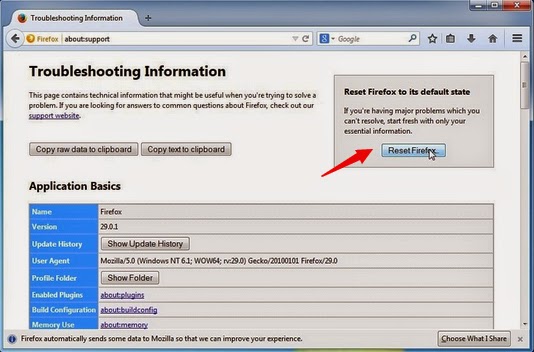
Mozilla Firefox
1) Click on the magnifier's icon and select 'Manage Search Engines....';
2) Choose 'Search Results' from the list and click 'Remove' and OK to save changes;
3) Go to 'Tools' → 'Options'. Reset the startup homepage or change it to google.com under the 'General tab';
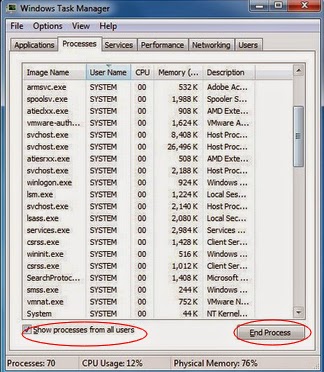
Step 4- Open Windows Task Manager and close all running processes.
( Methods to open Task Manager: Press CTRL+ALT+DEL or CTRL+SHIFT+ESC or Press the Start button->click on the Run option->Type in taskmgr and press OK.)
Note: Even though it is possible to manually remove a.targetingadvertiser.com by yourself, but such activity can permanently damage your system if any mistake is made in the process as advanced removal tools are able to automatically repair themselves if not completely deleted.
Automatic Steps with Advanced Removal Tool;
Download advanced removal tool here!

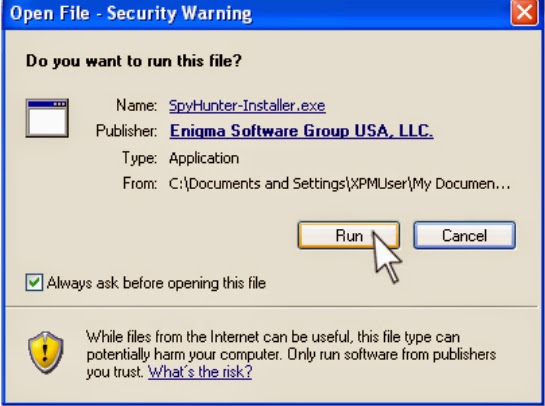
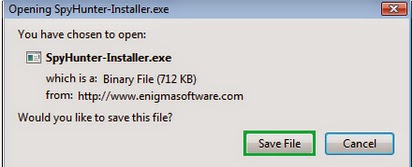
Instruction 1. Click here to download Spyhunter.
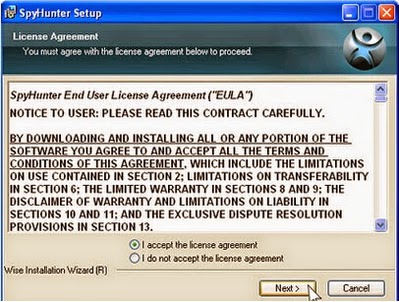
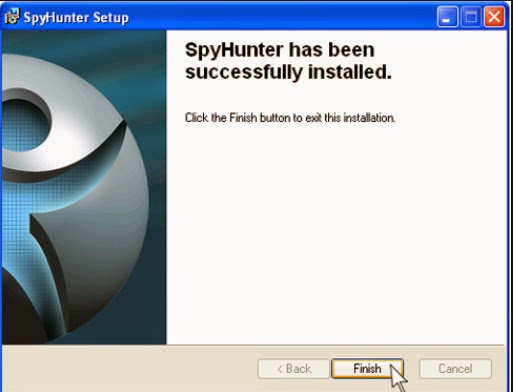
Instruction 2. Installation guide shown below, please keep following the prompts on the screen to complete the installation.
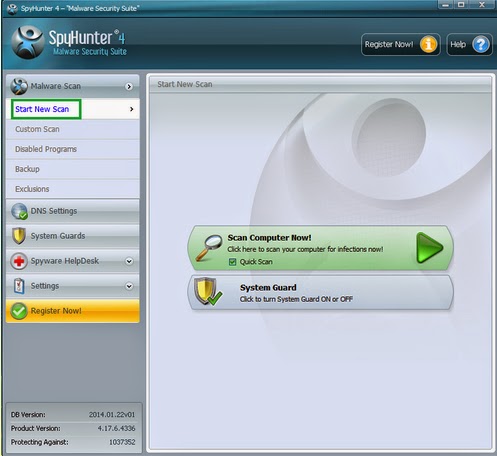
Instruction 3. Start a scan on your computer.
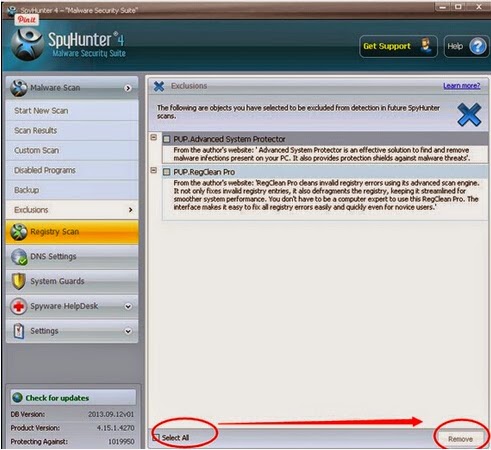
Instruction 4. Select all ticked related infections and then click remove button.
Optional guide:
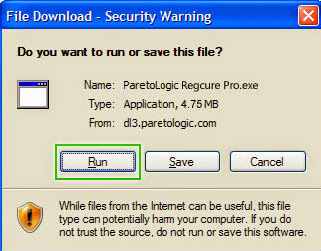
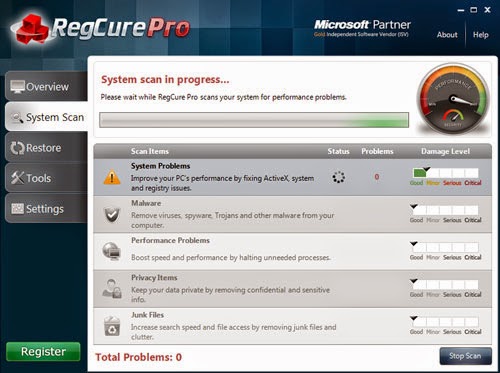
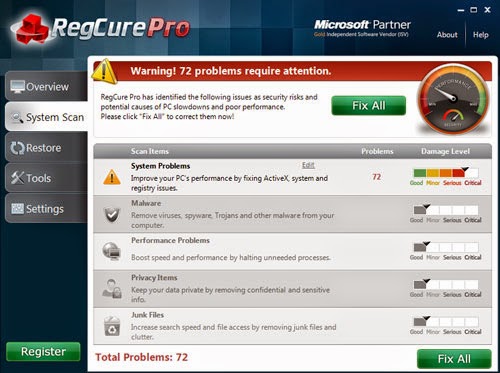
You can choose run RegCure Pro to check your computer again.The following steps will step by step to tell you download and install it on your computers.
1.Click here to download RegCure Pro


All in all:
Proxy Settings 127.0.0.1 will have connected with malware that can modify your system settings in the background. It will display annoying activities while you are searching online, to make sure you have a good experience on your computer, you have to remove Proxy Settings 127.0.0.1 with reliable removal here.
No comments:
Post a Comment